How to Build a Realistic Backyard Putting Green
Why a backyard putting green makes sense
A backyard putting green can turn an ordinary yard into a space where you practice your short game, entertain friends, or simply enjoy a quiet afternoon with a putter in hand. Unlike natural grass, which demands constant watering, mowing, and fertilizing, a well-built artificial surface stays consistent year-round. The idea of installing one might sound like a major project, but with the right approach it is something a motivated homeowner can pull off.
Planning your space and budget
Before you buy anything, take a close look at your yard. A putting green does not need a huge area. A space as small as ten by fifteen feet can hold a decent practice surface with a couple of breaks. Larger spaces allow for multiple hole locations and more interesting contours. Also consider sunlight patterns: too much shade can slow the surface and make it feel different from a real course. If you have pets or kids who will use the area, you may want to plan for a turf that handles foot traffic without matting down.
When you start shopping for materials, you will find that artificial turf for putting greens is different from standard landscape turf. The fibers are shorter and denser, and the backing is designed to hold a true roll. A synthetic putting green uses a specialized infill that helps the blades stand upright and gives the surface the right speed. Do not assume that any artificial grass will work. Look for turf labeled specifically for putting or golf applications. The pile height will usually be between half an inch and three-quarters of an inch. Polyethylene fibers are common because they feel soft and roll the ball predictably.
Preparing the base
The base is the most important part of the installation. A putting green needs a smooth, firm surface underneath the turf. Start by removing any existing grass and digging down about three to four inches. Fill the area with crushed rock or decomposed granite and compact it thoroughly. A plate compactor is the right tool for this job. Do not skip the compaction step. A base that settles later will create bumps and dips that ruin the roll of the ball.
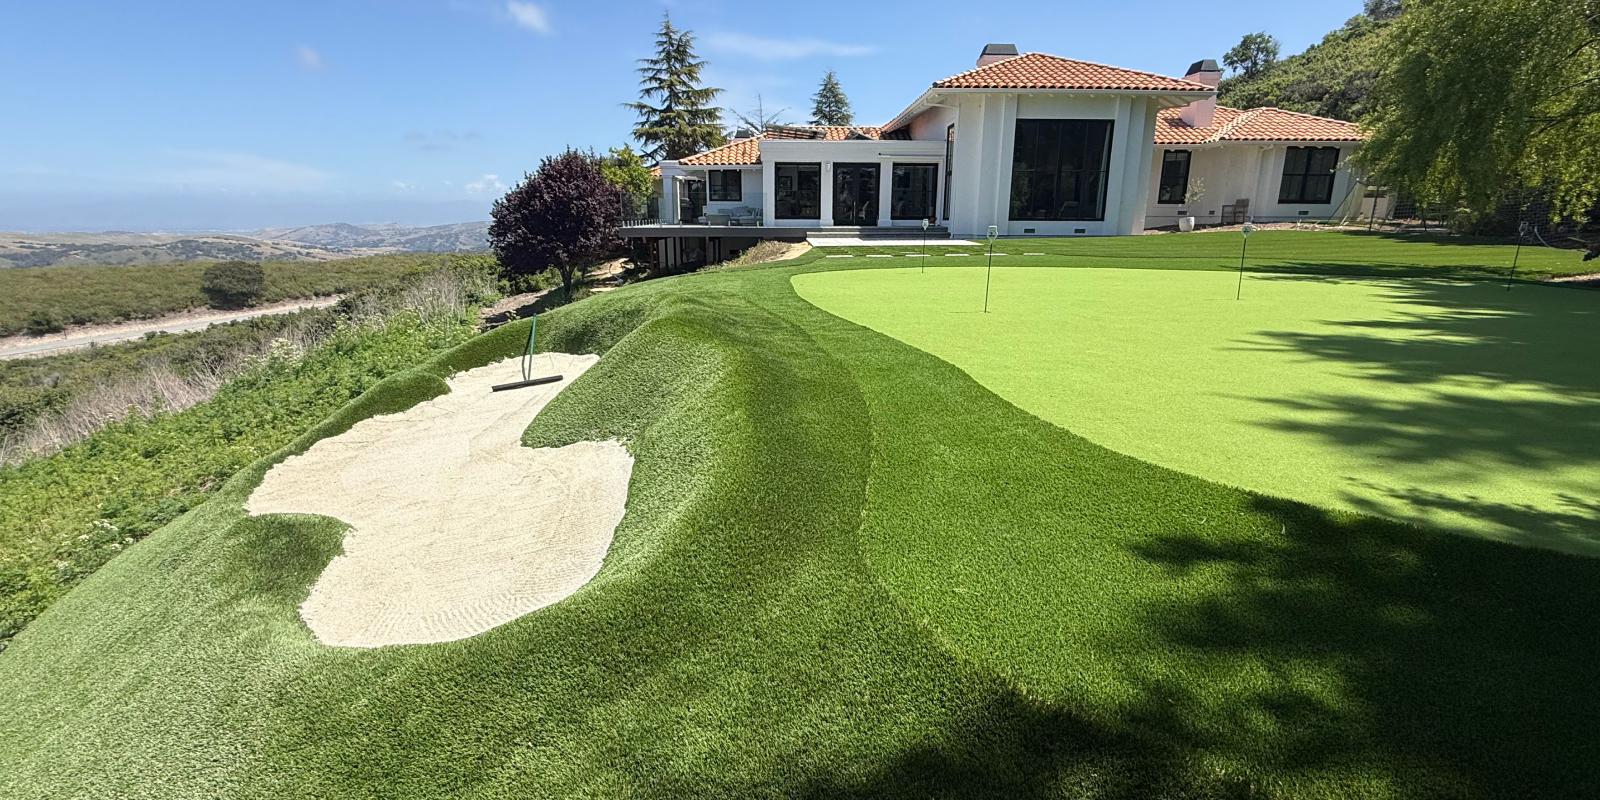
After the base is compacted, add a layer of fine sand or stone dust and screed it flat. Check the slope with a long level. A putting green should have subtle contours, but the overall surface needs to be even enough that a putt does not wobble off line. If you want to add breaks, you can shape the base before laying the turf. Small mounds and swales add character, but keep them gentle. Sharp transitions make the ball jump.
Choosing and placing the turf
Once the base is ready, roll out the turf and let it sit for a few hours. Artificial grass needs time to relax and flatten after being stored in a roll. Cut the pieces to fit your space, leaving a little extra around the edges. Seams are the weak point of any installation. If you need two pieces, make sure the nap runs in the same direction and that the seam is as tight as possible. Use seam tape and glue made for artificial turf. A visible seam will distract the eye and affect the ball.
After the turf is down, spread the infill evenly across the surface. Infill is usually silica sand or a rubber-sand blend. It holds the fibers upright and adds weight to keep the turf flat. Use a drop spreader or a hand broom to distribute it, then brush the fibers with a stiff broom to work the infill down. The amount of infill you need depends on the pile height and the manufacturer’s recommendation. Too little infill leaves the fibers lying flat; too much makes the surface hard and fast.
Installing the golf cup
A putting green is not complete without a hole. You can buy a standard golf cup at any home improvement store or online. Cut a hole in the turf with a utility knife, dig out a small pocket in the base, and set the cup so its rim sits just below the surface of the turf. Tuck the edges of the turf into the cup and tap the cup down so it is flush. If the cup sits above the turf, putts will catch on the edge. If it sits too low, the ball will drop before it reaches the hole. Take your time with this step. A well-set cup makes the whole green feel professional.
Maintaining the surface
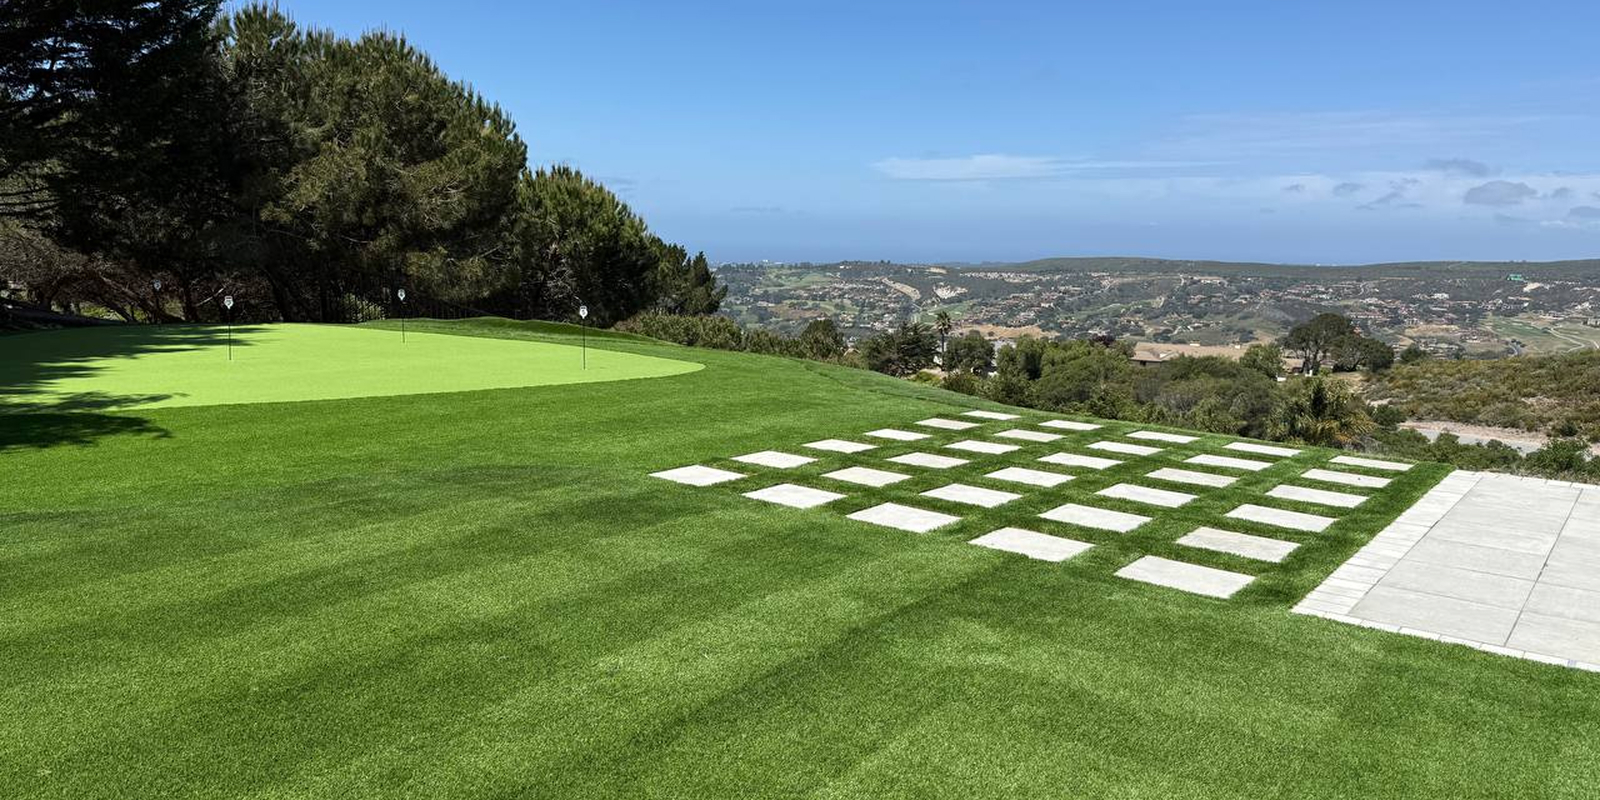
One of the best things about a synthetic putting green is how little maintenance it needs. You will not water it, mow it, or fertilize it. But it does need occasional care. Leaves and debris should be blown off regularly. If you have trees overhead, pine needles and acorns can get ground into the fibers and affect the roll. A quick sweep with a stiff broom once a week keeps the fibers upright and the infill evenly distributed. In areas with heavy rain, check that the drainage is still working. Most artificial turf has drainage holes in the backing, but if the base gets clogged with silt, water can pool on the surface.
If you have pets, you will want to hose down the green occasionally to keep it clean. Pet turf is often made with built-in antimicrobial treatments, but standard putting green turf may not have that feature. Rinsing the surface and letting it dry in the sun is usually enough to keep odors away.
Common mistakes to avoid
Many first-time installers make a few predictable errors. One of the most common is skimping on the base preparation. If the ground is not compacted and level, the surface will never play right. Another mistake is choosing a turf with the wrong pile height. Taller fibers look lush but they slow the ball down and make the surface feel spongy. A putting green needs short, dense fibers for a true roll.
People also underestimate how much infill they need. Without enough infill, the fibers flatten and the surface becomes inconsistent. And do not forget to check the direction of the nap. Artificial grass has a grain, just like a real green. If you install two pieces with the grain running opposite directions, putts will break differently on each piece. Always lay the turf so the fibers lean toward the hole or away from it in a consistent direction.
Water-efficient landscaping and putting greens
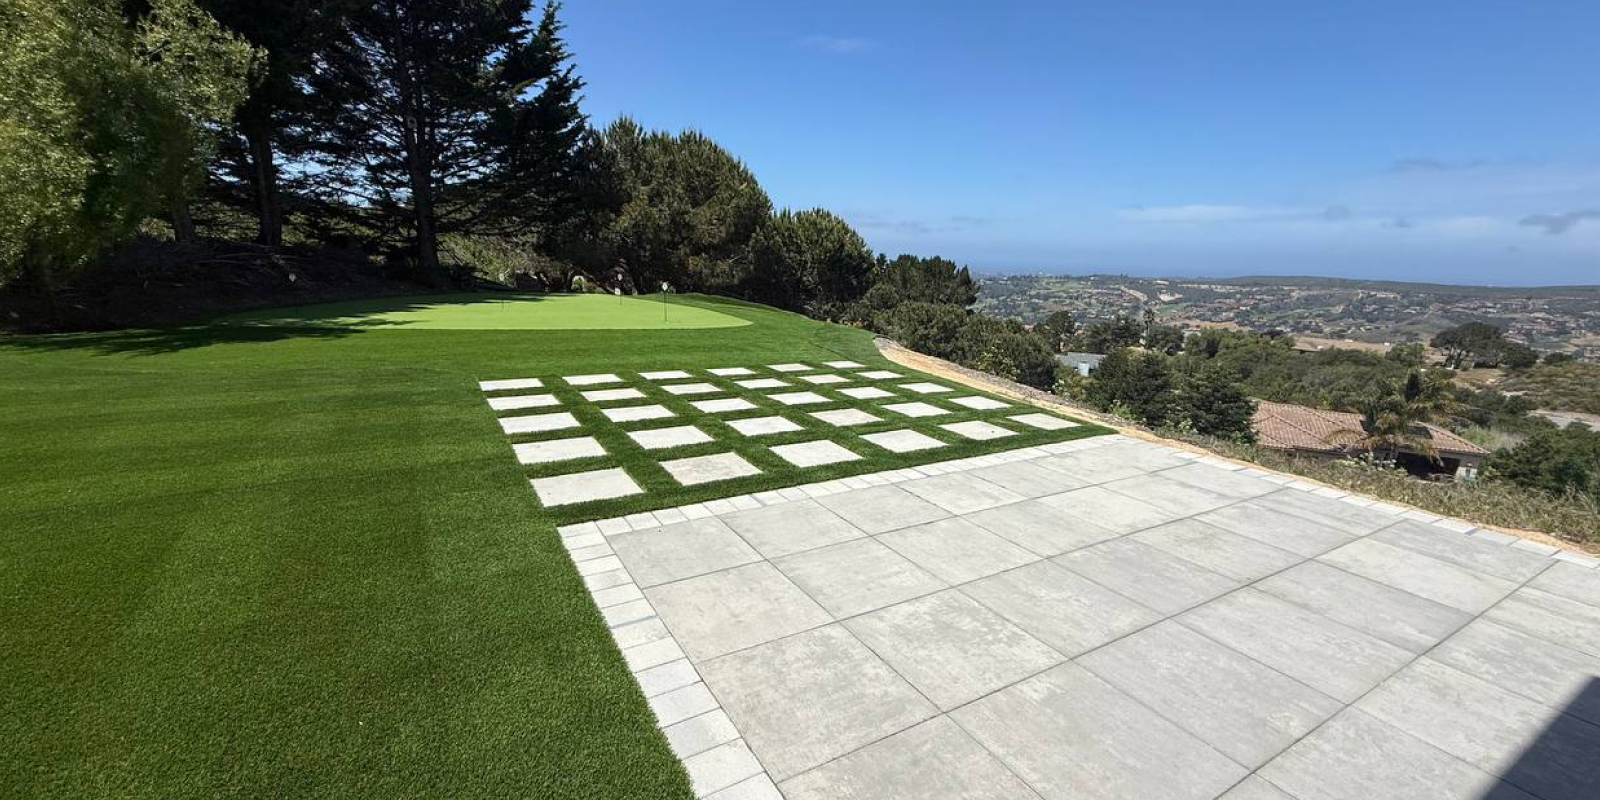
If you are already thinking about reducing water use in your yard, a putting green fits naturally into a water-efficient landscape. Artificial turf does not need irrigation, so it can replace a patch of thirsty lawn. Pair it with drought-tolerant shrubs, gravel pathways, and a drip system for any remaining plants. The result is a yard that looks good and uses far less water. Many homeowners find that the combination of a putting green and native plantings creates a clean, modern look that is easy to maintain.
Final thoughts
Building a backyard putting green is a straightforward project if you take the time to plan and prepare. The base work is the most demanding part, but once that is done the rest goes quickly. A well-built synthetic putting green will give you years of use with very little upkeep. Whether you are a serious golfer or just someone who likes to putt around on a weekend, having a practice surface at home changes how you think about your yard. It becomes a place you actually want to spend time in.